how to fix rattling speaker in car?
Today we discuss fix rattling speaker in car. As a car owner, experiencing a rattling sound emanating from your car speaker can be both frustrating and distracting, particularly if you have a fondness for music. While it may appear to be a minor inconvenience, it is crucial to address this issue promptly to prevent any further harm to your car’s audio system. Fortunately, resolving a rattling speaker in your car is a relatively simple task that you can undertake.
By following a few straightforward steps, you can restore your car’s sound system to its optimal quality and relish your favorite music without any disturbances. In this article, we will provide you with a comprehensive guide on rectifying a rattling speaker in your car.
We will cover everything from troubleshooting the problem to pinpointing its underlying cause, equipping you with the necessary information to restore your car’s audio system’s performance. Whether you are a new car owner or a seasoned enthusiast, our detailed guide will assist you in resolving this irksome issue.
8 ways to fix rattling speaker in car:
1. Check if speaker is loose:
If you’re noticing a rattling sound from your car’s speaker, it could be due to a loose speaker. To check for this, locate the speaker within your car’s sound system and gently apply pressure to see if it moves or wiggles. If the speaker feels loose or easily moves, it may require tightening or securing.
Try tightening the screws or bolts that hold the speaker in place, as a choice consider adding a foam pad as a choice rubber gasket for extra support. If the problem persists, it’s advisable to seek professional assistance to prevent any further damage or issues with your car’s sound system.
2. Tighten any loose screws:
If you are experiencing rattling sounds from your car’s speaker, it’s likely that there are loose screws within the speaker itself. Tightening any loose screws is a simple and effective way to fix this issue.
To get started, you’ll need a small screwdriver and access to the speaker. Begin by removing the speaker’s cover or grille to access the screws.
Carefully inspect the screws for any that appear loose, and use the screwdriver to tighten them as necessary. Be sure not to overtighten, as this can cause damage to the speaker.
Once all screws are tightened, replace the cover or grille and test the speaker to ensure the rattling has been eliminated. If the issue persists, there may be other underlying problems that require further investigation.
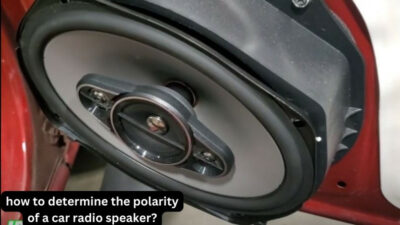
3. Inspect the speaker cone for damage:
If you notice a rattling sound from your car’s speaker, it could indicate damage to the speaker cone. To address this issue, carefully examine the speaker cone for visible signs of damage.
Remove the speaker from your car and gently press on the cone with your finger. If the cone moves freely without resistance or you notice tears or cracks, it is likely damaged.
In such cases, replacing the entire speaker cone may be necessary. It’s crucial to address this problem promptly to prevent any further harm to your car’s audio system.
4. Replace damaged or torn cones:
If you’re noticing rattling or buzzing noises coming from your car’s speakers, it’s likely that the cones have been damaged or torn. Fortunately, replacing them is a relatively straightforward solution. Start by removing the speaker from its housing, and unscrewing any screws or bolts that secure it.
Once the speaker is out, carefully examine the cones for any signs of damage or tears. If you find any, you can easily order replacement cones from an online store or a car audio shop. Installing the new cones involves removing the old ones, attaching the new ones using adhesive and screws, and ensuring proper alignment and centering.
Once the new cones are in place, reattach the speaker to its housing. Your speakers should then deliver pristine sound, with no more rattling or buzzing noise.
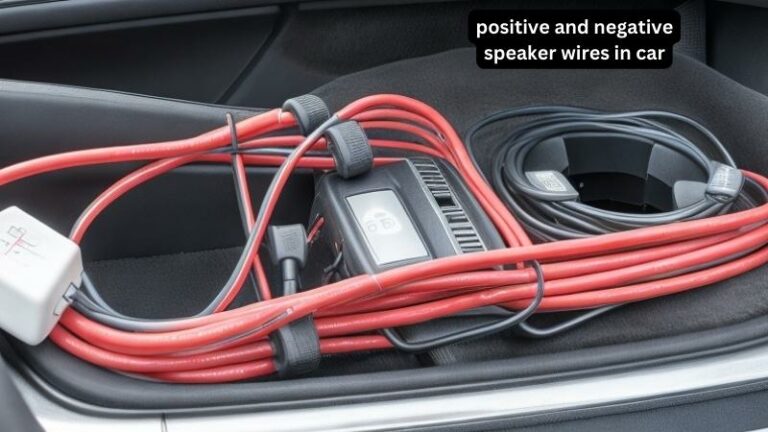
5. Check wiring connections for looseness:
If you are experiencing a rattling sound coming from your car’s speaker, one possible cause is loose wiring connections. Checking the wiring connections for looseness is the fifth step in our guide on how to fix rattling speakers in a car.
To do this, you will need to locate the speaker and remove the cover or grille to gain access to the wiring connections. Make sure the car is turned off before proceeding.
Once you have access to the wiring, gently wiggle the connections to see if any of them are loose. If you find a loose connection, use a pair of pliers to tighten the connection and ensure that it is secure.
Once all the connections have been checked and tightened, replace the cover or grille and test the speaker to see if the rattling sound has been resolved.
6. Re-solder any loose connections:
If you’re bothered by a rattling speaker in your car, there are effective steps to address the problem. One such step involves re-soldering loose connections. Over time, the vibrations and wear can loosen the connections within your speaker, leading to rattling or distorted sound. To resolve this, open up the speaker and carefully examine the connections.
If any are found to be loose, re-soldering them will provide a secure and stable connection. This can eliminate rattling and distortion, improving the overall sound quality of your car’s speakers. However, if you lack confidence in performing this task, it’s advisable to seek professional assistance.
7. Add foam pads to reduce vibration:
To address rattling sounds from your car’s speaker, consider adding foam pads to reduce vibrations. When speakers are mounted in a car, they can resonate with the surrounding metal, resulting in unwanted rattling noises.
By placing foam pads between the speaker and the metal, you can dampen these vibrations and minimize the rattling. Start by removing the speaker from its mount, then cut small foam pieces to fit around the mount.
Next, reattach the speaker with the foam pads in place, ensuring that the screws are tightened securely. This straightforward solution can significantly improve the sound quality of your car’s speakers and eliminate bothersome rattling noises.
8. Consider professional repair services:
If you’re dealing with a rattling sound from your car speakers, it’s crucial to address the issue promptly to prevent additional damage to the speakers or the car’s audio system. Professional repair services are a viable option to consider.
These services possess the necessary expertise, equipment, and experience to diagnose and resolve rattling speaker problems in your car. They can also offer warranties for their work, providing assurance that the issue has been effectively resolved. Choosing a reputable repair service provider is important to ensure a proper and thorough job.
You can find professional repair services by conducting online searches or seeking recommendations from friends and family who may have encountered similar issues. While professional repair services may incur higher costs compared to DIY fixes, they can save you time and money in the long run by preventing further damage to your car speakers and audio system.
conclusion:
a rattling speaker can be a frustrating and distracting issue for any car owner. However, with the right tools and techniques, fixing the issue can be a straightforward process. By identifying the source of the rattling, using sound-deadening materials, and ensuring proper installation, you can enjoy clear and distortion-free sound from your car’s speakers. Remember to take your time and be patient, and don’t hesitate to seek professional help if you’re unsure about any steps in the process. With a little bit of effort, you can restore your car’s audio system to its full potential.